Set up agents
1. Function Description
1.1 Function Description
- Provide the function of setting up agents and entrusting agents to sign forms.
- Provide proxy history query function.
1.2 Applicable roles
- All role users.
1.3 Preconditions
- Currently unavailable
2. operation flow
- Currently unavailable
3. Operation steps
3.1 Adding Agents
- Open "Set Agent" to enter the "My Agent" function.
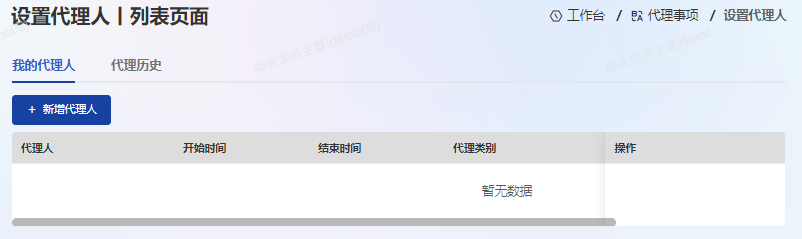
- Click on [Add Agent] to open agent settings.
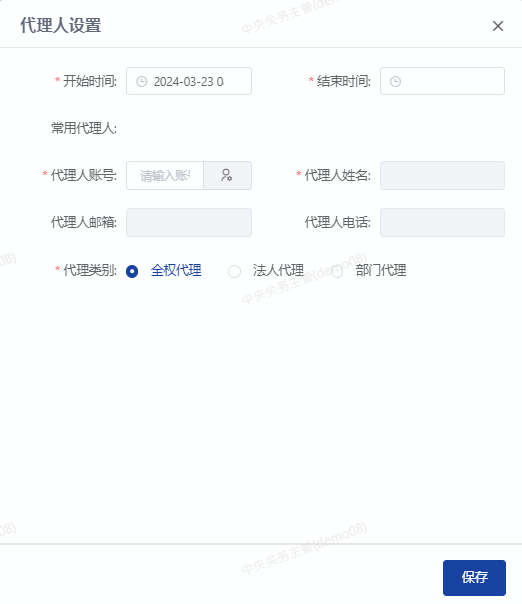
- Click on [Start Time] to select the start date and time, and then click the [OK] button after completion.
- Click on the 【 End Time 】 to select the start date and time, and then click the 【 OK 】 button after completion.
- Click on the "Gear" icon after the "Agent Account" to enter the Agent Account Query page.
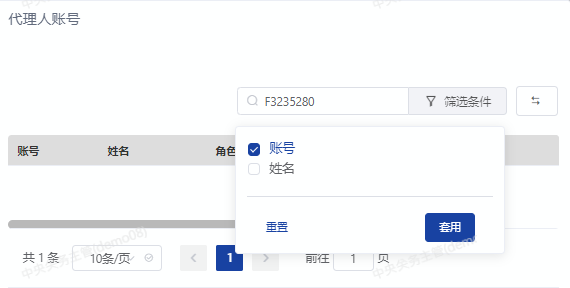
- In the filtering criteria input box, fill in the account (job number), check the account, and click the [Apply] button. After completion, as shown in the following figure:
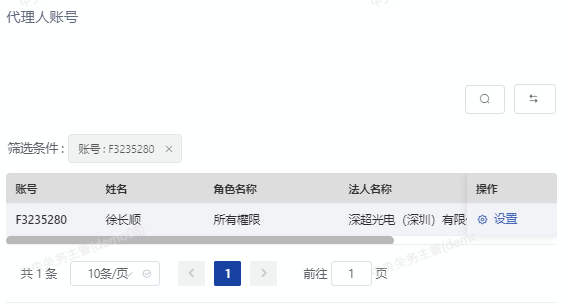
- After verifying the accuracy of the agent information, click the [Settings] button.
- Select Full Power Agency, Legal Representative, and Department Representative, and click the [Save] button after completion.
- The system prompts "Save successful".
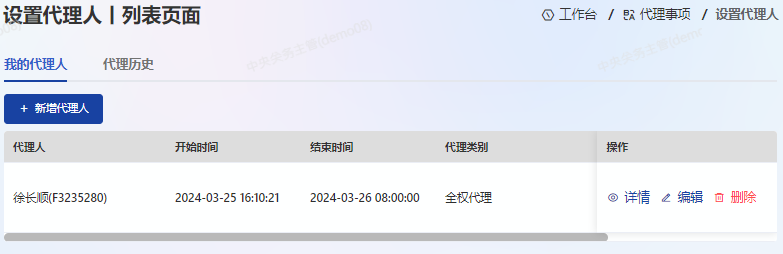
- Click on [Details] to open the form details.
- Click [Edit] to modify the form.
- Click [Delete] to perform the deletion operation.
- Turn on [Status] to enable status.

3.2 Agency History
Open "Set Agent" to enter the "Agent History" function. Query the history of setting up agents, 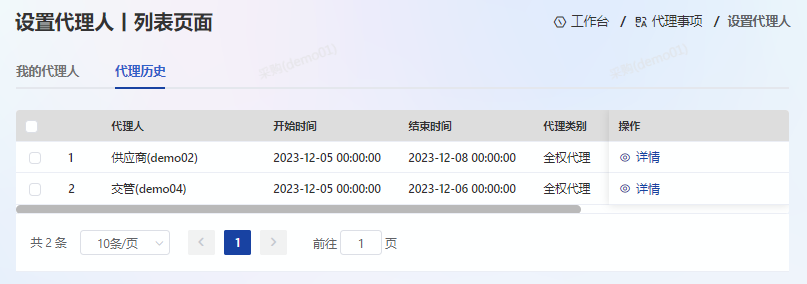
4. Precautions
-After setting up the proxy, it will take effect after being enabled.